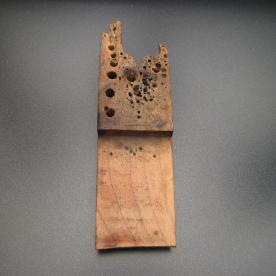
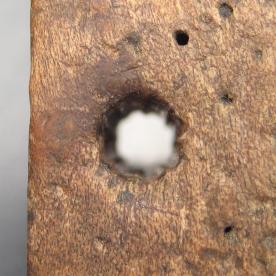
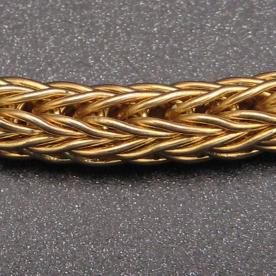
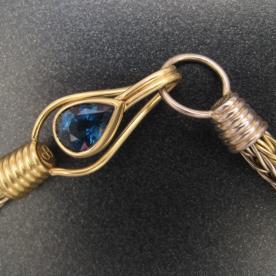
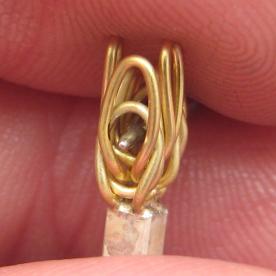
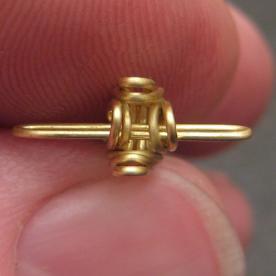
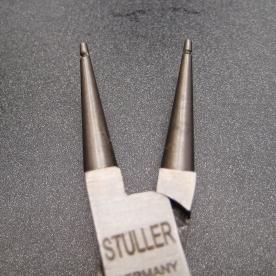
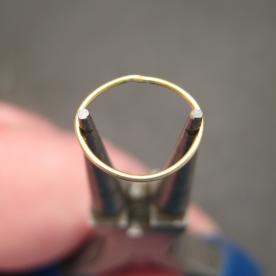
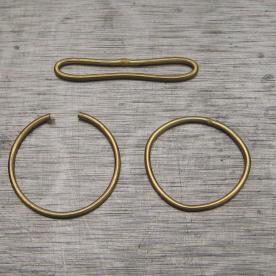
When the last golden ring has found a home with the rest of his brothers and a deep sigh of relief is heard from the goldsmith's bench, there remains one last hurdle. This will only take a moment but it will be a make or break moment. That is the pulling of the finished piece. Pulling a chain smoothes and evens the links which right now are slightly askew. I use an old maple bench pin which I...
August 2016
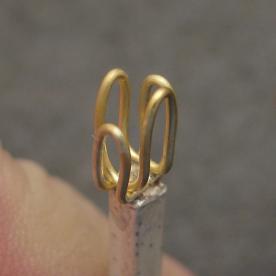
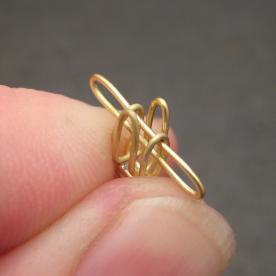
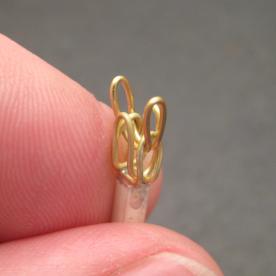
Now that we are ready to insert the fifth and sixth links we need to illustrate the concept of single-backed and double backed. The true Roman Chain is always double-backed which means that each link must be threaded through the last two. Threading or weaving links oscillates from one axis to the other. It doesn’t matter which side of the chain you’re going through. Look through the top of the...
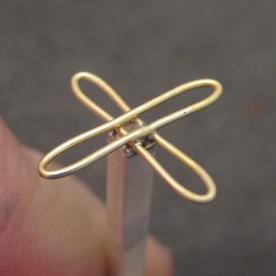
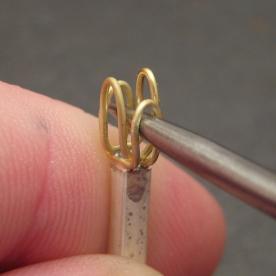
I use two of these suspect links and solder them to a 2 mm square silver rod at 90 degree angles. These become the foundation upon which the chain is built. After they are soldered square and even they are bent upwards to become the first two links. Now I use an old beading tool which I have sanded into a long tapering point and mounted into a handle. This is what's used to open both sides of...
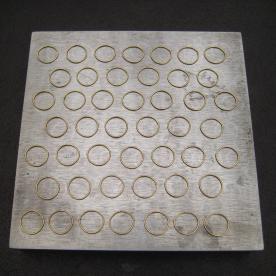
Once all of my rings are cut and cleaned (22 links/inch of finished chain) I begin to fit the edges together for fusing. Fusing unfortunately doesn't work with every metal. Therefore I no longer make chain with less than 18K gold and standard Sterling won't fuse either. I have found that Argentium Silver works wonderfully and makes a splendid chain.


