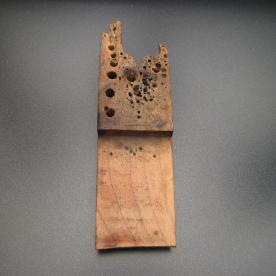
When the last golden ring has found a home with the rest of his brothers and a deep sigh of relief is heard from the goldsmith's bench, there remains one last hurdle. This will only take a moment but it will be a make or break moment. That is the pulling of the finished piece. Pulling a chain smoothes and evens the links which right now are slightly askew. I use an old maple bench pin which I have drilled out to make it a drawplate for chains. Never use a steel drawplate for this. Steel is far more rigid than the gold and will misshape the links in a horrible way.
Patrick's Blog
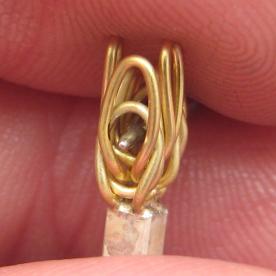
Now that we are ready to insert the fifth and sixth links we need to illustrate the concept of single-backed and double backed. The true Roman Chain is always double-backed which means that each link must be threaded through the last two. Threading or weaving links oscillates from one axis to the other. It doesn’t matter which side of the chain you’re going through. Look through the top of the chain to assure yourself that you are going in the right direction. As I understand the dynamics of the process, single-backed chains can be produced by machine but not so the double-backed.
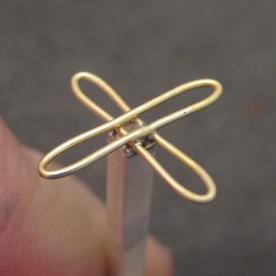
I use two of these suspect links and solder them to a 2 mm square silver rod at 90 degree angles. These become the foundation upon which the chain is built. After they are soldered square and even they are bent upwards to become the first two links. Now I use an old beading tool which I have sanded into a long tapering point and mounted into a handle. This is what's used to open both sides of every link to facilitate the insertion of the next link. In a nutshell, the pattern is this.
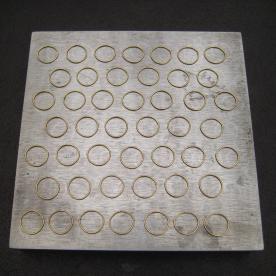
Once all of my rings are cut and cleaned (22 links/inch of finished chain) I begin to fit the edges together for fusing. Fusing unfortunately doesn't work with every metal. Therefore I no longer make chain with less than 18K gold and standard Sterling won't fuse either. I have found that Argentium Silver works wonderfully and makes a splendid chain.
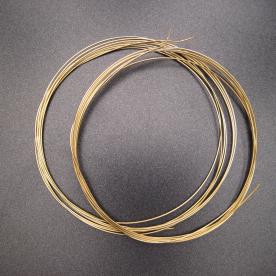
You may know it as a Roman Chain, an Etruscan Chain or any one of the ancient names, largely forgotten, once borne by this noble construction. Whatever you wish to call it is, I feel, better than the currently popular moniker of the "Loop-in-Loop" chain. I feel that this is a name devoid of all respect not to mention the wonder which this beautiful expression of the Goldsmith's craft can instill. Based on a deceptively simple pattern, this little wonder was produced by almost every civilization which ever practiced the art of Goldsmithing.
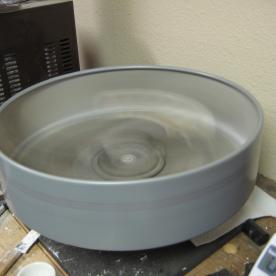
With a good flame playing across the now molten and shimmering gold, I give it a stir with the carbon rod and then sprinkle the surface of the metal with borax. This acts as a flux, from the Latin for “to flow”. This chemical helps to prevent the oxidation of molten metals thus helping them to blend as an alloy and to flow into the cavity awaiting. After one final stir of the rod, I release the spring and the centrifuge spins to life. I have no idea as to acceleration rates or speeds but it becomes a blur of motion in the blink of an eye.
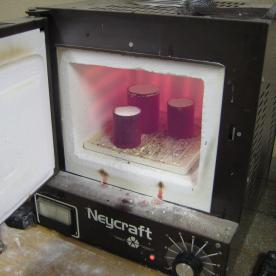
I use a centrifugal casting system. Essentially a large dynamic tub, the centrifuge is powered by a large spring, which is cocked and locked for the process of melting and casting the metal of choice. When released, it gives enormous pressure to the molten metal now flowing outward and into the vacated flask. Notice the angular structure in the middle of image number 7. This cradle serves to hold the flask and next to it is a ceramic crucible which is where the precious metals are melted and prepared for casting.
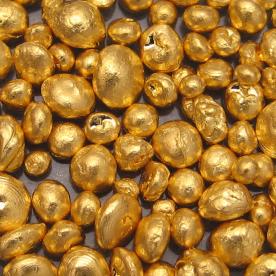
In the process of shopping for or commissioning a major jewelry purchase, the phrase “lost wax casting” is often heard. The wax casting process is often discussed over the countertop but little understood by jewelry customers. Jewelers often take it for granted that everyone understands this ancient technique; perhaps assuming that knowledge passes by osmosis. Little could be further from the truth.


